If you’ve ever wondered how to sear a steak to perfection, you’re in the right place! Searing steak may seem intimidating at first, but with the right techniques, you can achieve a beautifully caramelized crust while keeping the inside juicy and tender. Whether you’re a seasoned cook or just starting your culinary journey, these tips will have you searing steaks like a pro in no time.
Table of Contents
Why Searing Steak is Key to a Perfect Meal
Searing steak is more than just a step in the cooking process—it’s essential to unlocking that delicious, deep flavor we all love. By applying high heat to the surface of the steak, you create a Maillard reaction, which enhances the natural flavors and gives the steak its irresistible crispy, golden-brown exterior. But searing is more than just appearance; it’s the secret to preserving the meat’s juiciness. The quick browning of the outer layer helps lock in moisture, ensuring each bite is as tender as possible.
Best Steaks for Searing
While any steak can benefit from a good sear, some cuts of beef work better than others. For best results, choose well-marbled steaks like ribeye, T-bone, or New York strip. The fat in these cuts will render down as you cook, adding flavor and juiciness to the meat. For those looking for a leaner option, filet mignon is a great choice, though it may not develop as much of a crust due to its lower fat content. Either way, always start with a quality steak to set yourself up for success.
Step-by-Step Guide on How to Sear a Steak
Here’s a simple breakdown of how to sear a steak to achieve that perfect balance of flavor and texture:
1. Start with a High-Quality Steak
To achieve a great sear, begin with a good cut of steak. Ribeye, strip steak, or filet mignon are excellent choices. Make sure your steak is at room temperature before cooking to ensure even cooking.
2. Pat the Steak Dry
Moisture is the enemy of a good sear. Before seasoning, pat the steak dry with paper towels. This step helps the steak brown evenly. If there is moisture on the surface, it can steam the meat rather than sear it.
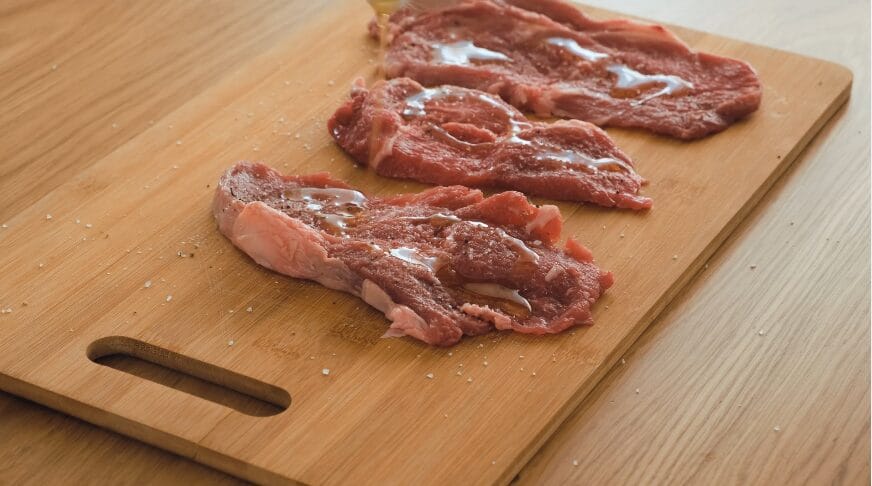
3. Season Generously
Season both sides of the steak with salt and pepper. You can add other seasonings like garlic powder, but simplicity often yields the best results. The salt also aids in drawing out excess moisture and helps create that golden-brown crust.
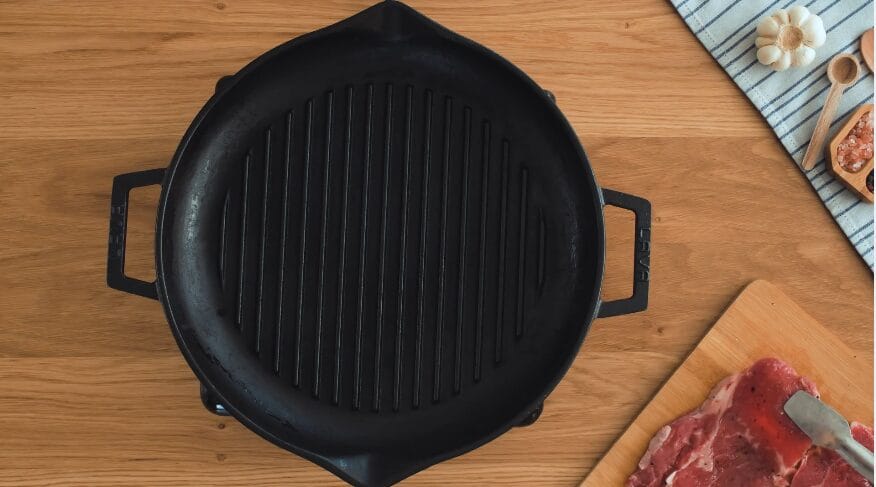
4. Preheat the Pan
A hot pan is crucial. Use a cast iron skillet or stainless steel pan for best results. Heat the pan over medium-high heat for about 3-5 minutes until it’s smoking hot. The heat from the pan is what creates the sear, and cast iron is ideal because it retains heat well, ensuring a consistent temperature.
5. Add Oil
Use a high-smoke point oil like canola, grapeseed, or avocado oil. Avoid butter at this stage as it can burn quickly at high temperatures. The oil provides a barrier between the steak and the pan, allowing the surface to brown evenly without sticking. If the steak is marinaded in oil you can skip this step.
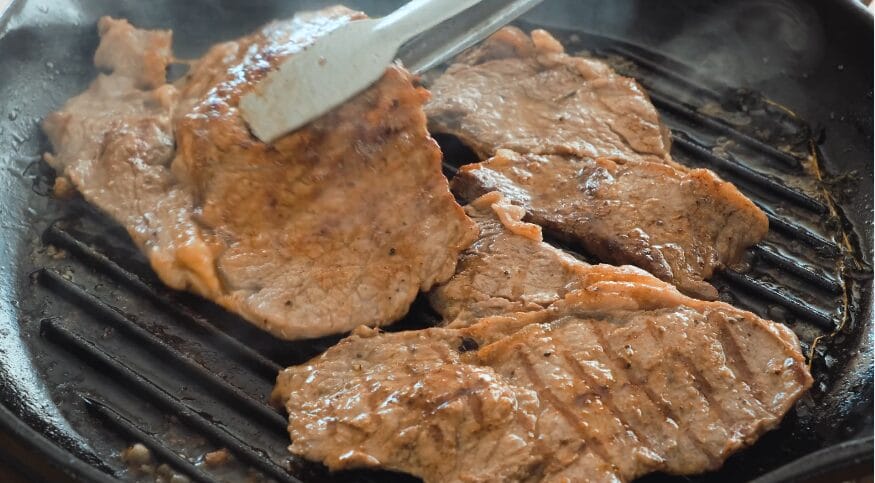
6. Sear the Steak
Carefully place the steak in the hot pan. Let it sear undisturbed for 2-3 minutes on each side for a medium-rare finish. Resist the urge to move it around. The key is to let the steak make uninterrupted contact with the pan, ensuring an even crust. If you’re using a thicker cut, after searing both sides, you can finish the steak in a preheated oven at 400°F for about 5-7 minutes, depending on the desired doneness. For those wanting extra flavor, you can add butter and aromatics like garlic and rosemary toward the end, basting the steak with the melted butter for an extra layer of richness.

7. Check the Internal Temperature
Use a meat thermometer to ensure the steak is cooked to your preferred doneness. For medium-rare, aim for 130°F-135°F, for medium, 140°F-145°F, and for well-done, 160°F and above. Remove the steak from heat slightly before it reaches the desired temperature, as it will continue to cook while resting. For more information on safe cooking temperatures, refer to the Government of Canada’s guidelines on safe internal temperatures.
8. Finish the Steak (Optional)
For thicker cuts, after searing both sides, you can transfer the steak to a preheated oven at 400°F for 5-7 minutes to finish cooking.
9. Let It Rest
Let the steak rest for 5 minutes before slicing. This allows the juices to redistribute throughout the meat, keeping it tender and juicy. Cutting into the steak too early can cause those precious juices to run out, leaving you with a dry piece of meat.

What to Serve with Searing Steak?
While a perfectly seared steak can be the star of any meal, pairing it with the right sides can take your dish to the next level. Consider classic sides like roasted vegetables, garlic mashed potatoes, or a crisp Caesar salad. For something more adventurous, try grilled asparagus or a tangy chimichurri sauce for a fresh contrast to the rich steak flavor.
And don’t forget the sauces! A good sear doesn’t need much, but a drizzle of balsamic reduction, herb butter, or a creamy peppercorn sauce can elevate the meal even further.
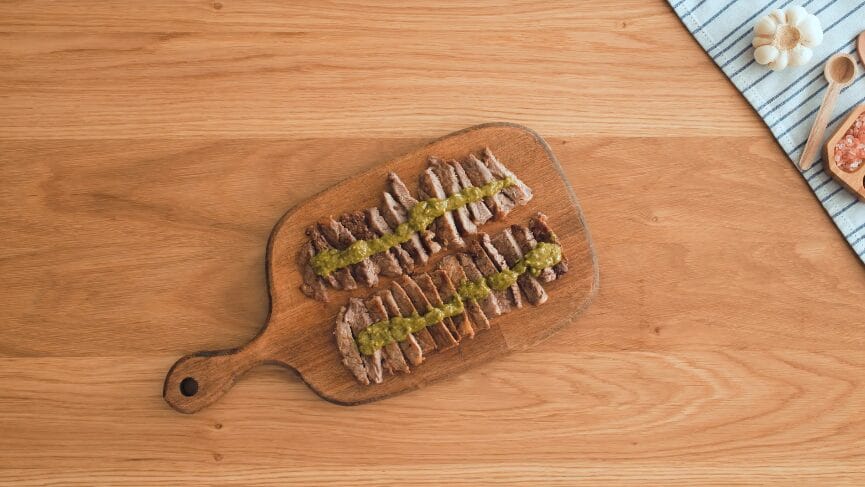
Pairing Your Steak with the Right Sauce
While a perfectly seared steak is delicious on its own, a good sauce can enhance the flavor even further. Butter-based sauces, herb butters, or even a classic chimichurri can complement the richness of the steak. Want to try something different? Check out my recipe for Pan-Seared Steak with Pesto. The fresh, vibrant flavors of the pesto are a fantastic pairing for the savory crust of the seared steak! This recipe is a fantastic option for a quick, nutritious, and flavorful meal that will impress family and friends alike. The vibrant pesto sauce adds a delightful burst of flavor and brightens up the richness of the steak.
Troubleshooting Common Steak Searing Mistakes
Even the best cooks can encounter problems when searing a steak. Here are some common issues and how to avoid them:
- The Steak Sticks to the Pan: This usually happens if the pan isn’t hot enough or if there’s too much moisture on the steak. Make sure to thoroughly dry the steak and preheat the pan properly before adding the meat.
- The Steak Doesn’t Have a Good Crust: If the steak doesn’t develop a crust, it’s likely due to overcrowding the pan or not letting it cook long enough. Cook the steak in batches if needed and avoid flipping too often.
- Overcooking the Steak: The best way to prevent overcooking is by using a meat thermometer to check the internal temperature. Remember, the steak will continue to cook slightly even after you remove it from the pan.
Final Thoughts on Searing Steak
By mastering the technique of searing steak, you’ll unlock a whole new level of flavor in your cooking. Whether you’re serving it with classic sides or getting creative with bold sauces, the perfect sear is the key to a restaurant-quality meal at home. Remember, the basics—dry steak, hot pan, generous seasoning—are essential to success.
Ready to take your steak game to the next level? Don’t forget to try my Pan-Seared Steak with Pesto for an added gourmet touch. Happy cooking and enjoy the juicy rewards of your efforts!
Common Questions About Searing Steak
Can I sear any type of steak?
Yes, you can sear any steak. However, steaks with more marbling, like ribeye or strip steak, tend to sear better because the fat helps develop a rich crust. Leaner steaks like filet mignon or sirloin will still benefit from searing but may not develop as much browning due to the lack of fat.
How do I know when the steak is properly seared?
A well-seared steak will have a deep brown crust on both sides. Avoid flipping too soon—let the steak develop color before turning it. If you can easily lift it off the pan without sticking, it’s likely ready to flip.
What oil should I use for searing steak?
Always choose oils with a high smoke point, like canola, avocado, or grapeseed oil. These oils can handle the high heat needed for searing without burning.
Do I need to cook the steak in the oven after searing?
Not necessarily! If you have a thin cut, the searing process might be enough. For thicker steaks, like a 1.5-inch ribeye, finishing it in the oven ensures that the inside reaches the desired temperature without overcooking the exterior.
How do I know when the steak is done?
The best way to check is with a meat thermometer. For medium-rare, aim for an internal temperature of 130°F-135°F. For medium, aim for 140°F-145°F. Remember, the steak will continue to cook slightly while it rests, so remove it from the pan when it’s a few degrees shy of your desired doneness.
How to Avoid Common Searing Mistakes
Why did my steak stick to the pan?
If the steak sticks to the pan, it’s likely because the pan wasn’t hot enough, or there was too much moisture on the steak. Make sure to preheat the pan thoroughly and dry the steak before adding it to the heat.
My steak didn’t develop a crust. What went wrong?
A common reason for lack of crust is overcrowding the pan. If you put too much steak in the pan at once, the temperature drops, causing the steak to steam rather than sear. Make sure your pan is hot, and cook in batches if needed.